Posted in Kid’s Party Ideas Art Party
Kids are so creative, so why not throw an Art Party they will love? This Ultimate Art Party Guide covers Planning, Invitations, Cakes, Activities, Decorations, and Loot Bags. In addition, I have created Free Personalized Printables for Invitations, the Cake topper, the Welcome sign, Art banners, Loot bags, and Thank you tags. I hope this helps and inspires you to create your own Priceless Art Party!
This post may contain affiliate links, which means if you buy something, I’ll receive a small commission without additional cost to you. As an Amazon Associate, I earn from qualifying purchases. Thanks for your support!
Art Party Quick Links
What makes a Kid's Birthday Party Priceless?
Is it Cake? Decorations? Activities? Loot Bags? It may be all of those, a mix of them, or none of them. While these are wonderful, my #1 way of making a party priceless is to make sure the birthday kid feels special! The best way to do this is to think of them wholeheartedly and what they would love.
Do they love cake? No, then put a candle or cake topper in their favourite dessert (you still could serve cupcakes to guests). Do they love big parties? No, then have a couple of friends or even just your immediate family. You get the idea. There are no right or wrong answers. Parties are not one size fits all. So pick and choose what works best for your party based on your birthday kid.
Party Planning
Now, let’s get into the specific questions you need to answer to plan your party. I suggest answering these questions with your birthday kid, if possible, as they know what they and their friends love!
- What is your Party Theme? Art Party!
- Who do you want to invite? Only invite friends that your child wants at their party.
- What Activities do you want to do? See Art-Inspired Activities.
- Hold the Party at Home or a Venue? If at home, outside or inside? If at a venue, book at least 6-8 weeks before the party.
- Cake, Cupcakes, a Favourite Dessert or a combination? See Art-Inspired Cake.
- What food and drinks do you want to serve?
- How much time do you need for the party? Consider time for activities, food, cake, free time and if you will be opening presents. For this Art Party, we had a pizza lunch, did all activities below, had cake and had free time. It lasted 2.5 hours, but if you want to open presents with guests, make it 3 hours.
- Date and time for the party?
- Printed or Electronic Invitations? Guests should receive them 4-6 weeks before the party. See Invitations.
- What decorations do you want? See Decorations.
- Do you want to give Loot Bags? What do you want to put in them? See Loot Bags
Creative Art Party Invitations
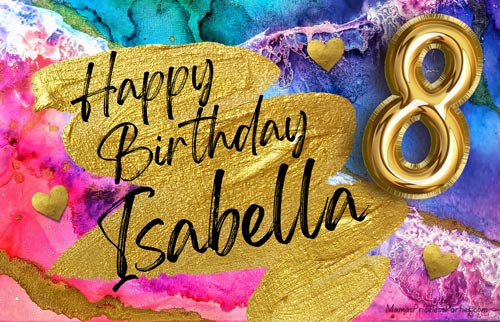
Let’s set the party theme for your guests with some creative art-inspired invitations. Check out my Free Art Party Invitations below. You can print, text, or email the Print Version 5″ x 7″ or send a Video Invite with the Electronic Version for Mobile. Most importantly, they are Free, and you can Personalize them with your kid’s name, age, and party details.
Select your Free Personalized Art Party Invitation
Print Version
For printing the 5″ x 7″ invitations, you need the 5″ x 7″ on 11″ x 8.5″ Printing Template. Print it on white cardstock for a professional look. Check out more of Mama’s Printing Tips.
Electronic Version for Mobile
Creative Art Party Cake
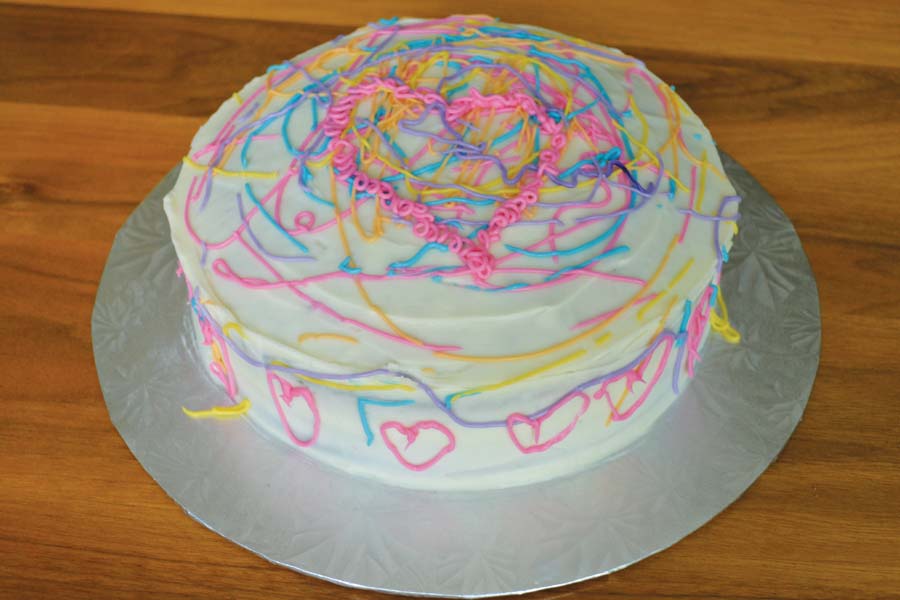
For one of the party activities, the girls decorated this art-inspired cake. See Birthday Cake Decorating Activity.
Does your birthday kid love cake? No, put a candle or cake topper in their favourite dessert, such as an apple pie and use it for the birthday festivities. That being said, you could still serve cupcakes to guests.
If they love cake, you can make it and let the kids decorate it as one of the party activities (See Birthday Cake Decorating Activity) or decorate it yourself. If you prefer, you can order the cake and the piping bags from your local bakery. Put your order in at least three weeks before the party.
Free Personalized Art Party Cake Topper
For Personalizing Instructions, see How to Personalize your Printable Invitation.
For printing the 7″ x 4.5″ Cake Topper, you need the 7″ x 4.5″ on 8.5″ x 11″ Printing Template. Print it on white cardstock, or print on regular paper and glue to cardstock. Check out more of Mama’s Printing Tips.
- Printed personalized cake topper
- White cardstock if cake topper was printed on regular paper
- 2 sucker sticks (could also use bamboo skewers or sturdy paper straws)
- Tape (I use white sticker labels when the backing of the cake topper is white)
Assembly - Printed Art Party Cake Topper on Cardstock:
- Cut out the cake topper with a paper cutter. You can cut right along the edge of the cake topper or cut a bit outside to allow for a white border. Make sure the border size is consistent.
- Tape two sucker sticks to the back. Make sure they are evenly spaced apart and go up halfway on the back to support the topper.
Assembly - Printed Art Party Cake Topper on Regular Paper:
- Cut out the cake topper with a paper cutter.
- Cut your cardstock a bit larger than the cake topper image to allow for a border. Make sure the border size is consistent. This border will enhance the finished look. If using glitter cardstock, make sure it is good quality and that the glitter does not come off. You do not want glitter pieces on your cake.
- Using extra strength glue, paste the cake topper image to the cardstock.
- Tape two sucker sticks to the back. Make sure they are evenly spaced apart and go up halfway on the back to support the topper.
Creative Art Party Activities
Parties are not one size fits all. So pick and choose what activities work for your party based on your birthday kid. Don’t forget to allow for some free time.
Make sure you have enough helping hands for your activities. For a party of six kids (7-8 years old), my husband and I were enough to run all the activities for this Art Party. If you have more than eight kids (7-8 years old), you will want more helping hands. Consider your activities, the number of guests and their ages.
Painting Letter Art
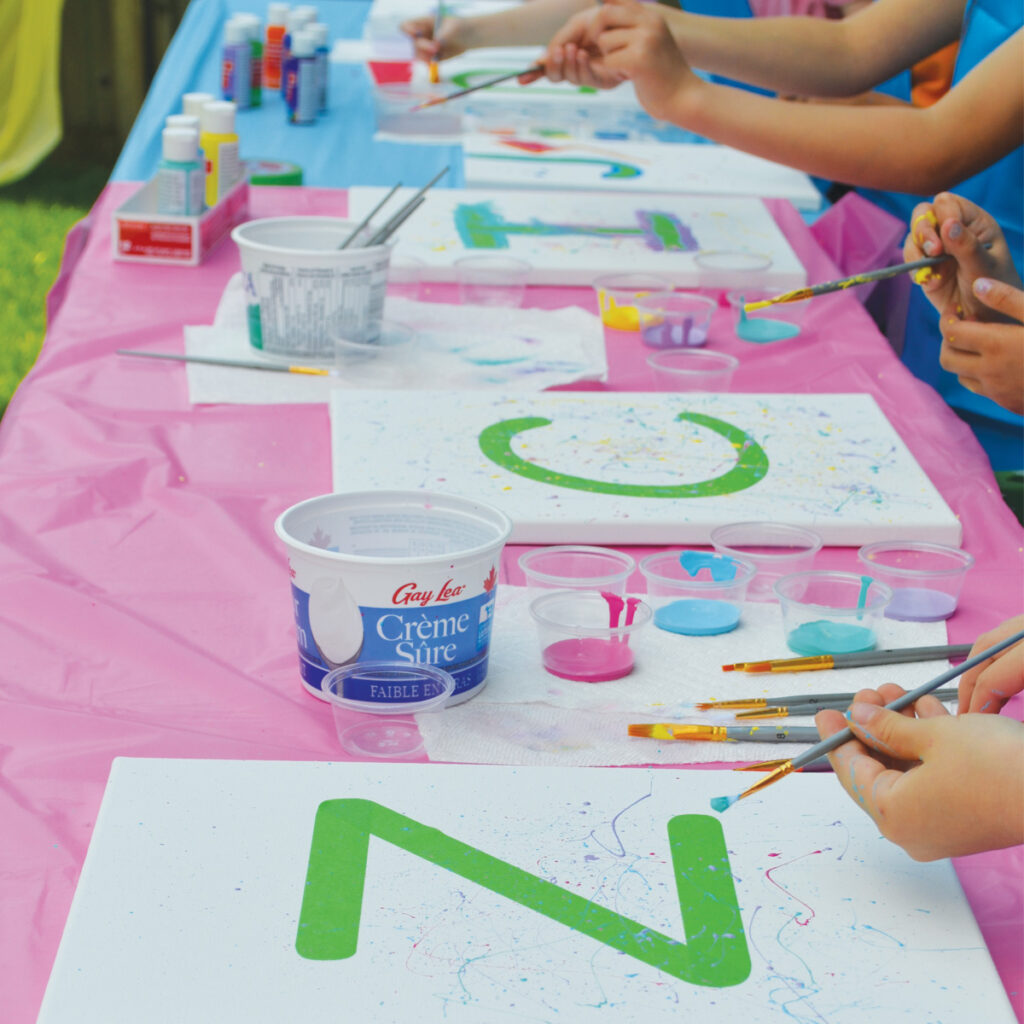
Kids love painting letter art. The best part is watching the expressions on their faces when you remove the letter stickers to reveal their finished masterpiece. Absolutely Priceless!
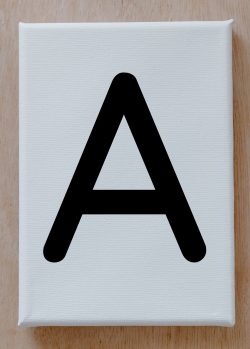
I have included how to make easy letter stickers without using a cricut maker. You could also use the same sticker making method to do shapes, such as a unicorn, baseball bat, etc.
This activity takes approximately 30 minutes. Painting Letter Art should be your first activity to allow the canvas approximately 1-hour drying time (depending on the amount of paint used). Otherwise, consider dropping it off when dry.
- Tables (If outside, preferably in the shade)
- Plastic Tablecloths for easy clean up (Dollar Store)
- Kids Painting Apron per kid (Dollar Tree or Amazon)
- 11″ x 14″ Canvas per kid (Multi-pack from Amazon or Michaels)
- Letter Sticker (can make or purchase)
- Acrylic Paint (Multi-coloured pack from Amazon or Michaels)
- Couple Different Paint Brushes / Foam Dabbers per kid (Dollar Store)
- Small Plastic Containers for Paint (I found them with lids from Dollar Store)
- Large Plastic Bowls for Water
- Paper Towels
Letter Stickers for Kid's Painting
If you prefer not to make Letter Stickers, you can buy them. Make sure they are not permanent stickers so you can remove them easily from the canvas.
Alternatively, you can leave the letter stickers off and they can paint a blank canvas.
Art Workspace Setup
Step 1 – Put plastic tablecloths on tables to make for easy cleanup. If outside, tables should be preferably in the shade.
Step 2 – Ideally, each kid should have an Art Station at the table, with the following:
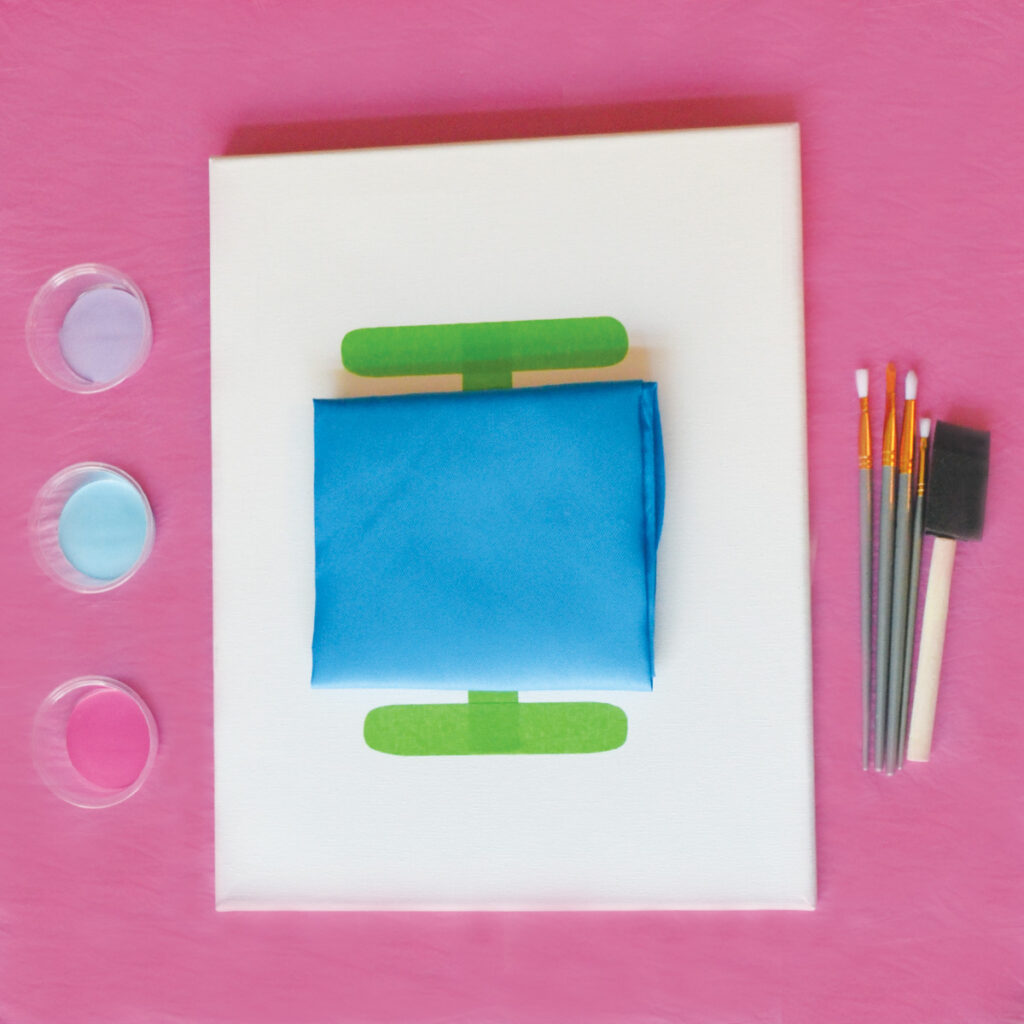
- Kids Painting Apron
- 11″ x 14″ Canvas with letter sticker
- Couple Different Paint Brushes / Foam Brushes or Dabbers
- Small Plastic Containers with Paint (prepare ahead or let the kids choose their colours at the party)
Step 3 – On the tables, put out large plastic bowls of water for rinsing the paint brushes. About 2-3 kids can share them, depending on the Art Station layout. You will also want paper towels for dabbing paint brushes after rinsing in water. Put the remaining paint bottles on the table or have them close if the kids need more paint.
During the Party
Right before the kids started painting, I explained that with letter stickers, you need to have paint along all the edges of the letter. Otherwise, the letter will not be clear. They could paint, splatter, or dab. Some painted the whole canvas, while others outlined their letter and then did splatter paint. They were very creative. Everyone made a unique masterpiece!
Depending on your group, you may want to show them an example of a finished art piece. Visuals are always helpful for kids.
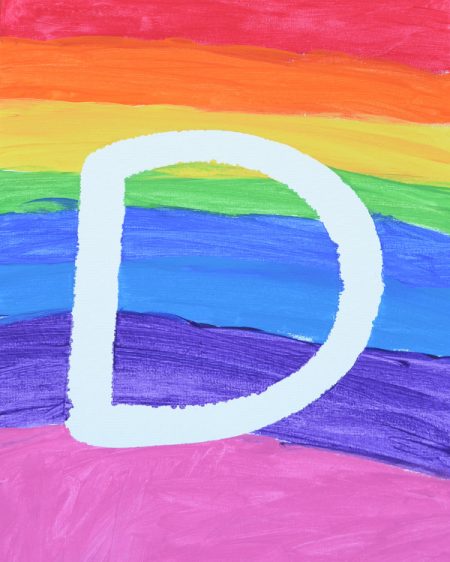
After the kids are finished painting, carefully remove the letter sticker. I used my fingernail, but you could use tweezers. Use disposable gloves to prevent getting paint on your hands.
Decorate Canvas Shaped Sugar Cookies

Take your sugar cookies to a whole other level. Shape them like a canvas, and instantly make Priceless Edible Art! The kids will have a Blast creating their Edible Masterpieces. Plus, they will love the sweet treat when done.
This activity takes approximately 15-20 minutes, depending on how many sugar cookies each kid will decorate. Decorating Canvas Shaped Sugar Cookies should be the next activity after the Canvas Letter Art to allow the icing to dry a little. That is unless the kids will eat the cookies right after decorating.

- Paper Plates (for easy cleanup)
- Canvas Shaped Sugar Cookies (make a couple of days before party or order at least 2 weeks in advance)
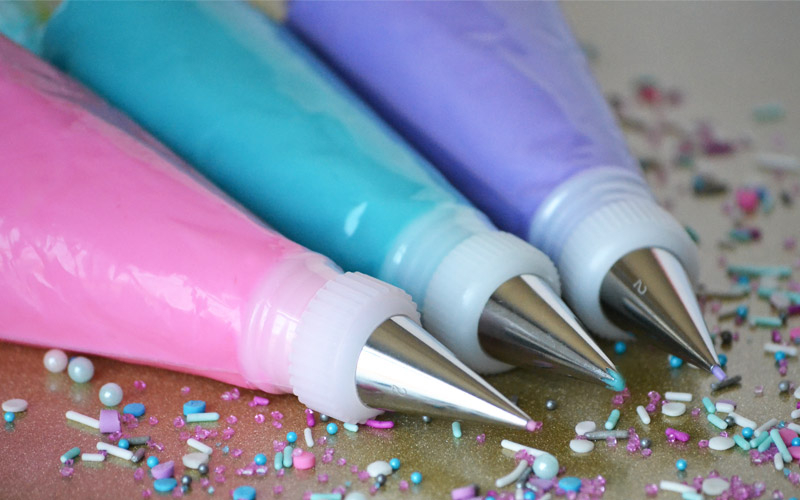
- Piping Bags filled with Icing (multiple colours made a couple of days before party or order with cookies)
- Sprinkles (in containers with lids)
Making Canvas shaped sugar cookies
Make your sugar cookies a couple of days before the party. My favourite sugar cookie recipe is from Sally’s Baking Addiction. These cookies are Soft and Absolutely Yummy! Note: They contain Almond Extract. You will need to make sure your guests do not have nut allergies.
My Cookie Baking Notes
- If stacking rolled-out cookie dough on parchment paper, put an extra piece of parchment paper between each layer to prevent sticking between the layers. (Rolled out cookie dough on parchment paper, then parchment paper, then rolled out cookie dough on parchment paper, then parchment paper)
- Bake the cookies for 8-10mins. Check them at the 8 minute mark. If the edges are very lightly coloured, they are done. If not, put in for another minute and check again. The cookie will be soft.
- After the cookies cool for 5 mins on the baking sheet, use a spatula to transfer the cookies to the wire rack. You do not want to pick them up, as they are soft and will break.
Easy Icing
My Icing Baking Notes:
- Add salt to the Easy Icing, as Sally suggests. I find the Easy Icing too sweet without the salt.
- I do not use corn syrup in the Easy Icing. Instead add a bit more water to get the right consistency.
Colour Your Icing
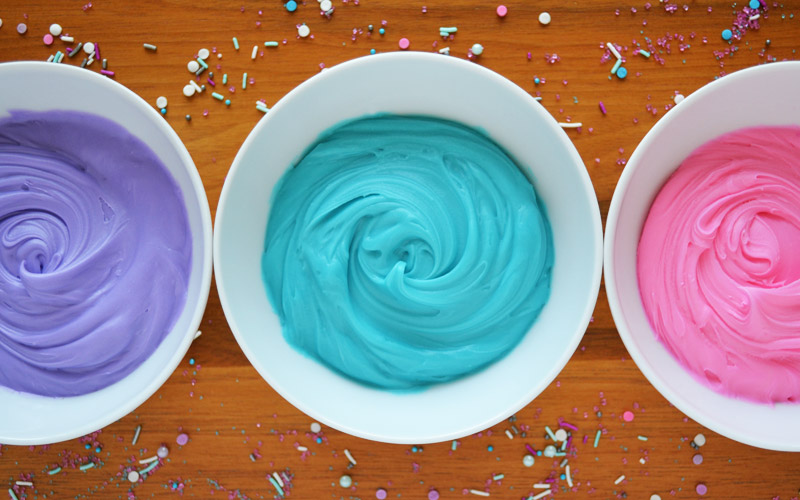
Separate your Icing into bowls to make the different colours. The number of bowls depends on how many colours you want. We did pink, purple, blue, and yellow. For icing colour instructions, see How to Colour Icing. Important Note: Do Not Chill the Easy Icing for these cookies.
Prepare the Piping Bags
- Wilton 12″ Piping Bags (enough for multiples of each colour – For a party of six kids doing two cookies each, we did two piping bags of each colour. 2 Pink, 2 Purple, 2 Teal, and 2 Yellow, making a total of 8 piping bags.
- Coloured Icing
- Ribbon (Optional – If you don’t have ribbon, make a knot with the piping bag where the icing ends)
- Scissors (Optional)
- Fold the top of the piping bag over your hand halfway down to make a cuff.
- Use a spoon to put your icing in the piping bag.
- Unfold the top of the piping bag back to normal and push the icing towards the bottom of the bag.
- Twist the top of your Piping bag and tightly knot a ribbon around it. Curl the Ribbon for a finishing touch. If you don’t have ribbon, make a knot with the piping bag where the icing ends.
- Leave approximately 3″ of the piping bag from the knot and cut off the remainder of the piping bag.
During the Party

To open the piping bags, cut a small opening at the tip of the piping bag. The opening size determines the amount of icing that comes out. A big opening means more icing coming out. If you cut the piping bag opening too big, you can’t fix it. Better to make a small opening and gradually increase the size if necessary.
If a kid’s cookie breaks while decorating, do not panic. Put some icing between the two pieces (like you would with glue) and push them lightly together. When the icing dries, it will hold the pieces together.
Now, they can either eat their yummy cookie(s) or you can put them aside to let the icing dry. Write their names on the top of the paper plates to avoid a mix-up.
Sending Cookies Home
If the cookies are being sent home with the kids, put parchment paper on the icing side of the cookie to prevent sticking. Then put the cookie(s) in a cookie bag or Ziplock. The cookie bag should go directly into the loot bag to avoid a mix-up.
Birthday Cake Decorating
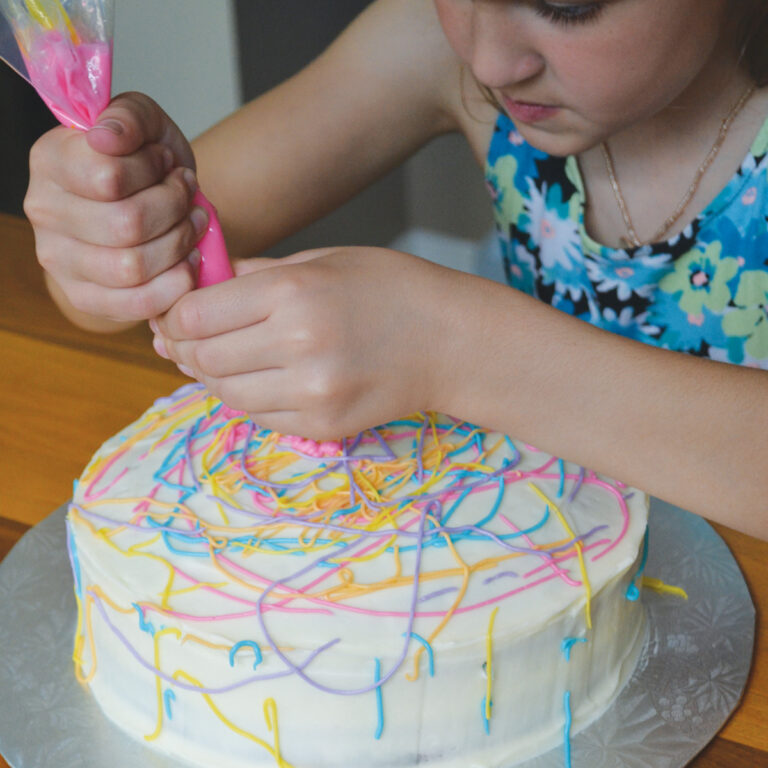

- Rainbow Marble Cake with White Frosting (or any cake with white frosting)
- Piping Bags filled with Icing (Blue, Pink, Orange, Yellow, and Purple or whatever colours you choose)
You can order the cake and the piping bags from your local bakery if you’re uncomfortable making them. Put your order in at least three weeks before the party.
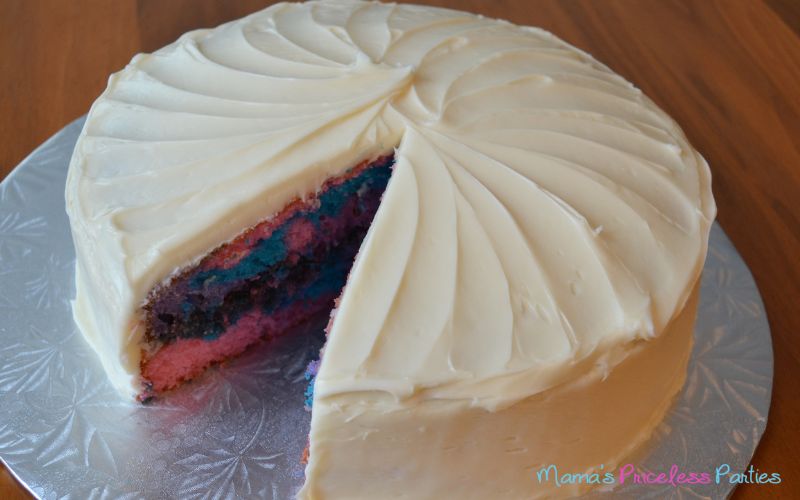
Rainbow Marble Cake with White Frosting
We made a Surprise Rainbow Marble Cake to follow the Art Theme. The kids had no idea what kind of cake it was until we cut the first slice. It was a Priceless Surprise! If you decide to tell your birthday kid about the rainbow marble inside, remind them not to tell anyone ahead of time.
You will want to make your cake a week before the party and freeze it until the night before the party when you frost it. I used Betty Crocker Super Moist French Vanilla Cake Mix and Betty Crocker Creamy Deluxe French Vanilla Icing for this cake. They are yummy, fast and easy! You could use any cake flavour you would like, but if you want rainbow colours, it needs to be a light-coloured cake batter.
Piping Bags Filled with Icing
Prepare the Piping Bags the morning of the party. Not sure how? Check out the below links for help.
We used Wilton 12″ piping bags, small couplers and Wilton Piping Tip #2. We taught the kids how to hold a piping bag, which was part of the experience. However, you may want an easier method for this kid’s activity.
- Do not use the couplers and piping tips.
- Make a knot with the piping bag where the Icing ends. The knot will prevent the icing from shooting out the top of the piping bag when squeezed.
- Cut a small opening at the end of the piping bag. The opening size determines the amount of Icing that comes out.
During the Party

Everyone sat around the table and had a chance to help decorate the birthday cake. We went over how to hold a piping bag and that we would do a drizzle style for this art-inspired cake. The birthday kid made the final decoration on top of the drizzle. Everyone had an Amazing time!
Dancing
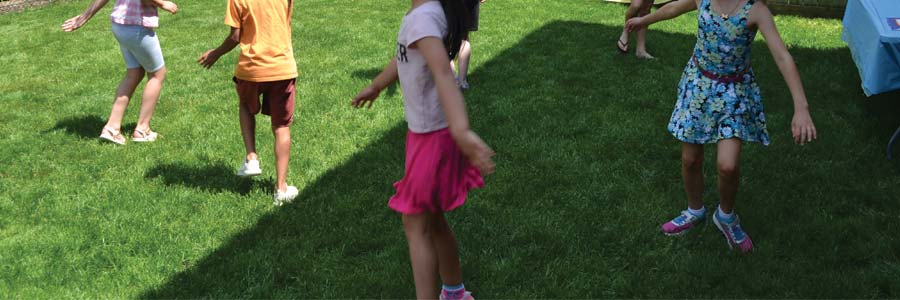
A fun way to get the kids moving is to put music on and let them dance their hearts out! This activity takes as long as you want to give them. However, cut it off when you see they are ready for a change.
Candy Toss
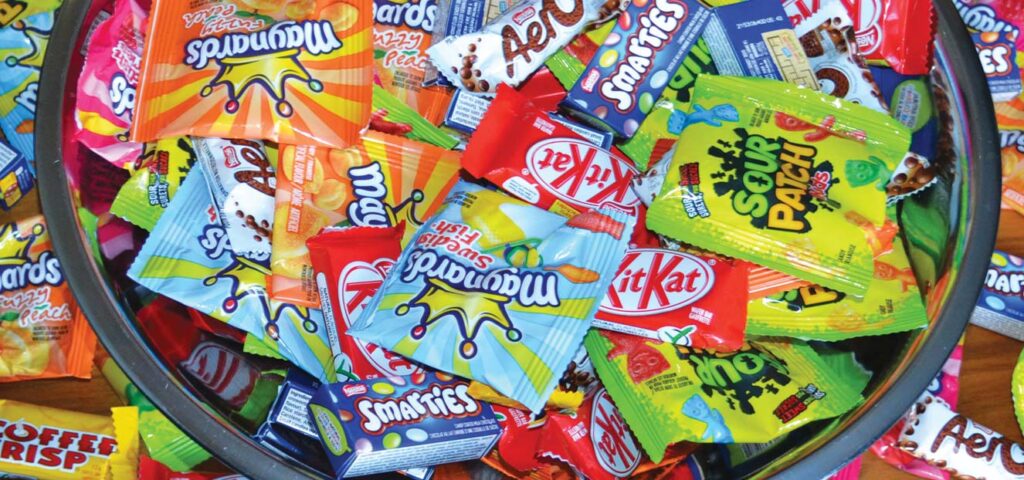
Kids love doing the Candy Toss! They have lots of fun running around picking up candy and chocolates. This activity takes 10-15 minutes.
- Bowl or Decorated Box
- Candy and Chocolates (Prepackaged or put loose candy, like sour keys in little bags and tie them up)
- Music (Gummy Bear Song or any fun music they love)
- Empty Treat Bags
Put most of the candy and chocolates in your bowl or decorated box. Use the leftover candy to top up any treat bags, at the end of the activity, in case some kids get less candy than others. Everyone will be happy!
During the Party
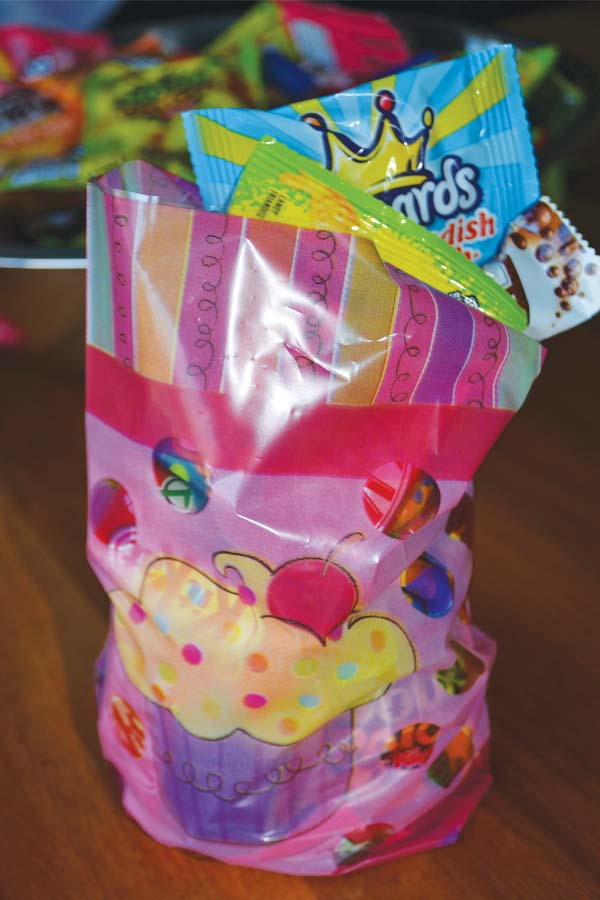
- Give each kid an empty treat bag.
- Put music on.
- Have the kids all in one area and throw candy towards them.
- The kids pick up the candy from the ground and put it in their treat bags.
- When finished, top up any bags if needed.
Creative Art Party Decorations
Decorations are a great way to dress up your Art Party! Add some beautiful Balloons and instantly create the feeling of fun. But why stop there? Add Pouring Paint Cans, a Welcome Sign and a Personalized Art Banner to make your decorations Priceless!
Pouring Paint Cans
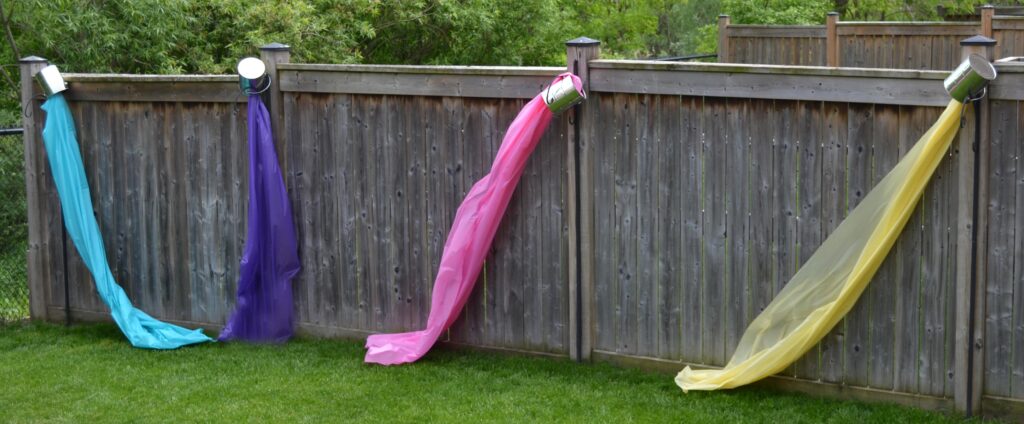
The Pouring Paint Cans are the perfect inspirational decoration for your Art Party. You can mix this up however you want. You could use fewer or more paint cans, different colours or even have multiple colours dropping from the paint cans. This decoration is ideal for both inside and outside parties.
I scored these paint cans for free from a Sherwin-Williams store, but you can always purchase them at a hardware store like Home Depot. I used Dollar Store plastic tablecloths for the paint.
- Paint Cans (Paint Store or Hardware Store)
- Different Coloured Plastic Tablecloths (Dollar Store)
- Duct Tape (needs to be strong tape that will stick to the can)
Assembly of Pouring Paint Cans:
Step 1 – Open up the tablecloth.
Step 2 – Bunch up one end of a plastic tablecloth width-wise. Note: If using more than one tablecloth in one paint can, bunch one tablecloth and put it on top of the other bunched tablecloth. Then, put duct tape around the end. Make sure to keep the duct tape close to the end of the tablecloths, as seen below.

Step 3 – Tape the tablecloth(s) to the inside of the paint can. Use duct tape or another strong tape. Make sure to tape it very well.
Step 4 – Hang the paint cans.
Art Party Welcome Sign
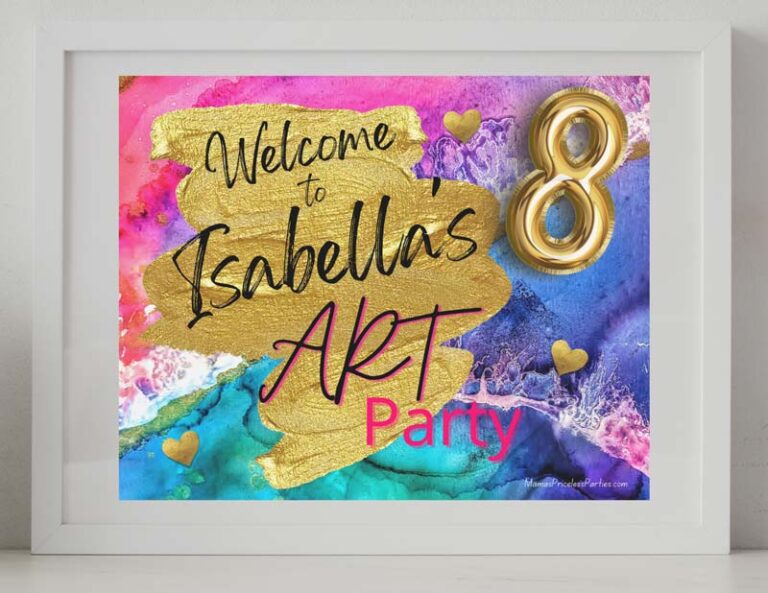
This decoration is Super Easy! All you have to do is Personalize, Print and put in a frame.
Free Personalized Welcome Sign
For Personalizing Instructions, see How to Personalize your Printable Invitation.
For printing the 10″ x 8″ Welcome Sign, you need the 10″x 8″ on 11″x 8.5″ Printing Template. Print it on regular paper. Check out more of Mama’s Printing Tips.
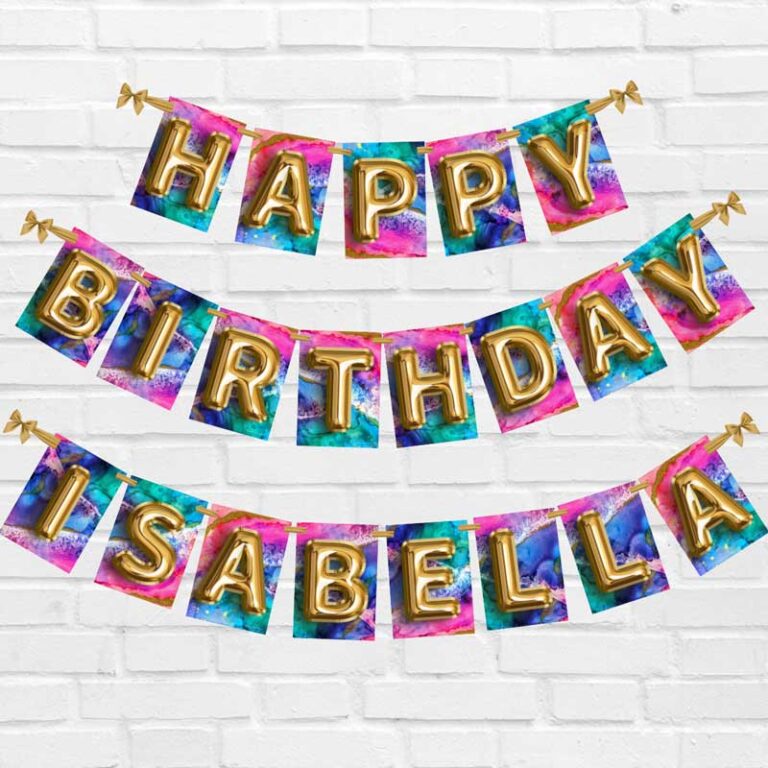
Art Party Banner
Free Personalized Art Banner
For printing the 5″ x 7″ art banner letters, you need the 5″ x 7″ on 11″ x 8.5″ Printing Template. Print it on white cardstock for a professional look. Check out more of Mama’s Printing Tips.
- Printed Letters
- Paper cutter
- Ribbon or String (if threading banner)
- Hole Punch (if threading banner)
- Tape (painter’s tape if taping directly to wall)
Assembly of Art Banner with Ribbon:
Step 1 – Cut out the images with a paper cutter.
Step 2 – Make two holes with a hole punch for each letter. The first hole should be 1/2″ from the top and 1/2″ from the left side, and the second hole should be 1/2″ from the top and 1/2″ from the right side.

Step 3 – Organize your letters in order.
Step 4 – Thread the ribbon or string through the holes of each letter in your banner. The ribbon should go in the front left hole and out the hole on the right. See below. Make sure you have enough string at each end of the rows to hang.

Step 5 – Tape the ribbon to the back of each letter to prevent it from moving.
Step 6 – Hang the art banner.
Assembly of Art Banner without Ribbon:
Step 1 – Cut out the images with a paper cutter.
Step 2 – Using painter’s tape, tape the back of each letter to the wall to make your banner.
Creative Art Party Loot Bags
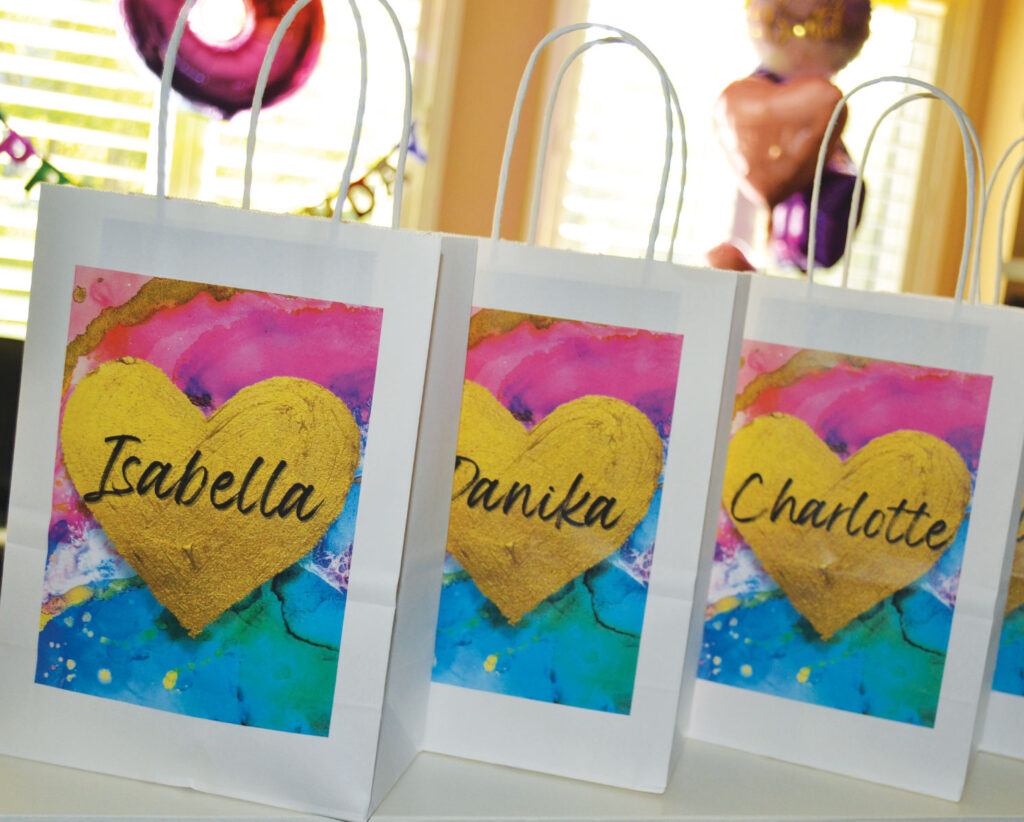
The kids always love getting a loot bag at the end of the party. In this art-inspired loot bag, we included:
They also get to take home their Canvas Art and Decorated Cookies that they made at the Party!
Some other options are:
- Rainbow Scratch Books
- Squishmallow Stickers
- Paint Set
- Glitter Glue
- Drawing Pencils or Pencil Crayons
- Candy and Chocolate (if not doing Candy Toss)
Select your Free Personalized Art Party Loot Bag Cover or Tag
Free Personalized Loot Bag Cover
For printing the 5″ x 7″ loot bag cover, you need the 5″ x 7″ on 11″ x 8.5″ Printing Template. Print it on regular paper. Check out more of Mama’s Printing Tips.
Assembly of Loot Bag Cover:
- Cut out the image with a paper cutter.
- Paste to the front on the Loot Bag. (Use extra strength glue)
Free Personalized Loot Bag Tags
For Personalizing Instructions, see How to Personalize your Loot Bag Cover.
For printing the 4″ x 3″ loot bag tags, you need the 4″ x 3″ on 11″ x 8.5″ Printing Template and for printing the 3″ x 3″ loot bag tags, you need the 3″ x 3″ on 11″ x 8.5″ Printing Template. Print it on white cardstock, or print it on regular paper and glue it to cardstock. Check out more of Mama’s Printing Tips.
Assembly of Loot Bag Tags:
- Cut out the image with a paper cutter.
- If you printed on regular paper, cut your cardstock a bit larger to allow for a border. Make sure the border size is consistent. Then using extra strength glue, paste the Loot Bag Tag to the cardstock.
- Make a hole in the top corner with a hole punch. The top of the tag is the first letter of their name.
- Put a ribbon through the hole of the Loot Bag Tag and attach it to the handle of the loot bag.
Include a Thank You
A great way to thank your guests is to include a Personalized Thank You in their Loot Bag.
Free Personalized Thank you Tag
For Personalizing Instructions, see How to Personalize your Loot Bag Cover.
For printing the 3″ x 2″ Thank You Tags, you need the 3″ x 2″ on 11″ x 8.5″ Printing Template. Print it on white cardstock, or print it on regular paper and glue it to cardstock. Check out more of Mama’s Printing Tips.
Assembly of Thank You Tags:
- Cut out the image with a paper cutter.
- If you printed on regular paper, cut your cardstock a bit larger to allow for a border. Make sure the border size is consistent. Then using extra strength glue, paste the Thank You Tag to the cardstock. This border will enhance the finished look.
- Make a hole in the top corner with a hole punch. The top of the tag is where you start reading.
- Put a ribbon through the hole of the Thank You Tag, and then attach it to a gift in the Loot Bag.
Be Inspired and make your own Priceless Party!
I would love to hear about your Art Party! Please share your pictures and comments below.
Mama's Helpful Tips
- When printing, you must use the proper printing template.
- Invitations / Banner / Loot Bag Cover – 5″x 7″ on 11″x 8.5″ Printing Template
- Cake Topper – 7″x 4.5″ on 8.5″x 11″ Printing Template
- Welcome Sign – 10″x 8″ on 11″x 8.5″ Printing Template
- Loot Bag Tags (4″ x 3″) – 4″x 3″ on 11″x 8.5″ Printing Template
- Loot Bag Tags (3″ x 3″) – 3″x 3″ on 11″x 8.5″ Printing Template
- Thank You Tags- 3″x 2″ on 11″x 8.5″ Printing Template
- Print at a print shop, such as Staples, for a more professional look and great colour quality.
- Paper choices:
- Invitations / Banner / Canvas Letter – Print on white cardstock
- Cake Topper, Loot Bag Tags, Thank You Tags – Print on white cardstock, or print on regular paper and glue to cardstock.
- Loot Bag Cover / Welcome Sign – Print on regular paper
- Use a paper cutter for a professional look.
- Always use extra strength glue.
- Use Painter’s tape when taping to walls, doors, etc.
- Make sure you have enough helping hands for your party.
- Have Fun!





We’re having an “Arty Party” for my daughter’s 4th birthday and these tips are super helpful. I’m really excited to getting into proper planning mode without the overwhelm of wondering what to do.
That is Great to hear! I hope your daughter’s party is absolutely Wonderful and that she has tons of Fun!