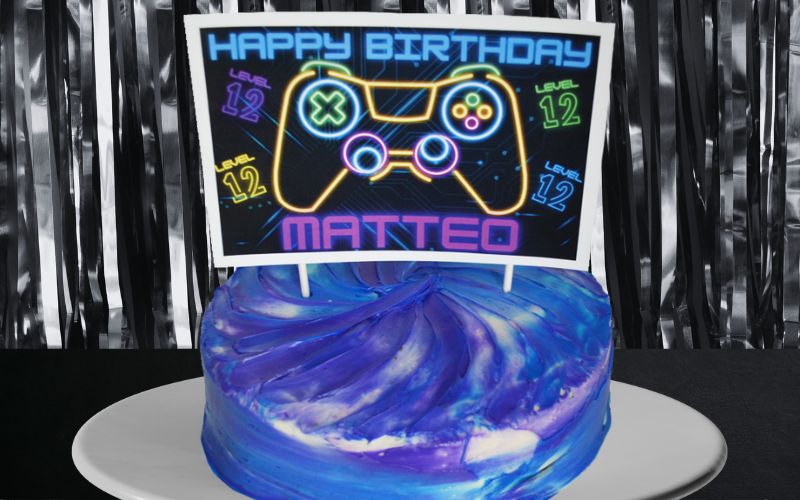
Who doesn’t love a good surprise? Turn Boxed Cake Mix and Frosting into a Priceless Gaming Cake. It is so easy to make and perfect for any occasion! Once you cut the first slice, you see the surprise colors inside…Absolutely Priceless.
Boxed Cake Mix for Gaming Cake
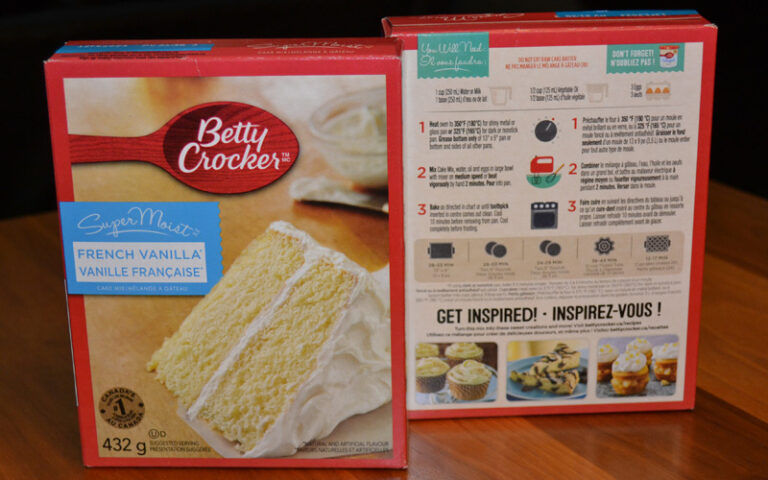
I used Betty Crocker Super Moist French Vanilla Cake Mix for this Cake. It is yummy, fast and easy! You could use any cake flavour you would like, but if you want colored cake, it needs to be a light-colored cake batter.
Colour your Batter
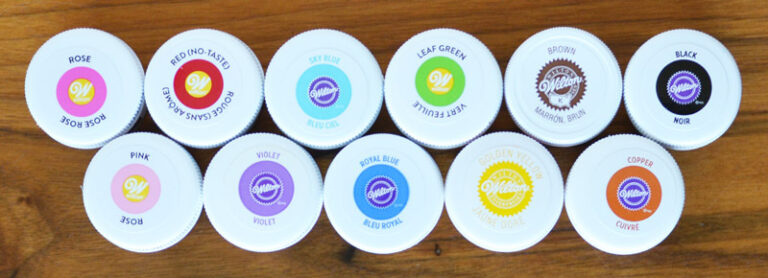
I always use Wilton’s icing colour. It is a gel consistency, and a little goes a long way. For this Gaming Cake, I used Royal Blue, Kelly Green, and Violet icing colours.
Frosting for Gaming Cake
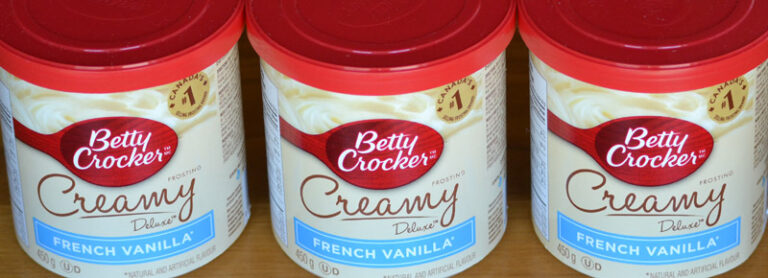
Betty Crocker Creamy Deluxe French Vanilla is my go-to for frosting. What? I know…not what you expected me to say. Right? I use this store-bought frosting for all of my cakes and cupcakes. It is yummy, works well, is consistent, and saves lots of time (making and cleaning up).
This post may contain affiliate links, which means if you buy something, I’ll receive a small commission without additional cost to you. As an Amazon Associate, I earn from qualifying purchases. Thanks for your support!
Making the Super Easy Gaming Cake
What you will need:
cake batter (Betty Crocker Super Moist French Vanilla Cake Mix)
1. Make the cake batter. Follow the instructions on the back of the boxed cake mix. I always use milk instead of water.
Back of Boxed Cake Mix
2. Separate the batter as evenly as possible into three bowls. You need one for each colour.
3. Insert a toothpick into your Wilton icing colour and then put it into one of the bowls of batter. Mix the batter until the colour is combined. Do this with each bowl of batter. I used Kelly Green, Violet, and Royal Blue Wilton Icing Colours for this cake. NOTE: Cake batter colour lightens a bit when baking. Make sure your coloured batter is darker than what you want your cake colour to be.
4. Using butter, grease your baking pans very well, especially the edges. Don’t forget to do the sides.
5. Pour a bit of green cake batter into each baking pan. Move your bowl while pouring so that the batter spreads out (see below). There should be some batter left in your bowl. Do the same for the blue and purple. Try to fill in spots that you have not poured in yet.
Pouring Batter in Baking Pans
6. Pour the rest of the green batter into each pan. Then do the same with the purple and blue batter. All your batter should be in the pans now. NOTE: Try to keep the overall batter level in each pan as consistent as possible; so they bake evenly.
7. Bake the cakes for the minimum time shown for your pan type as per the instructions on the back of the box. I checked my cakes at 28 minutes because I used two 8″ round baking pans.
Baking Times for Boxed Cake Mix
8. Fully insert a toothpick into the centre of each cake to check if done. If the toothpick comes out clean, your cake is done. If not, bake for another 2 minutes and recheck with a toothpick. Repeat until done.
9. Let cakes cool in baking pans for 10 minutes.
10. Flip the cooling rack upside down and place it on top of the baking pan. While holding the baking pan to the cooling rack, flip the cooling rack right side up. Remove the baking pan. It should come off easily. Do the same for the other pan. Allow cakes to cool completely.
11. Put each cake layer into a large Ziplock bag and freeze for at least a couple of hours. You could also freeze it weeks in advance. Freezing helps reduces the crumbs and allows for easier cake levelling. Make sure to put the cakes on a level surface in the freezer.
12. Remove from the freezer and level the cakes, if needed. Keep the sharp knife level with the table while cutting to ensure a levelled cake.
Steps 13-15
13. Place the first cake layer right side up on the cake board or whatever you plan to serve it on. Make sure it will fit in your freezer. Place the second cake layer upside down on top of the first layer to check if it fits nicely and is level. Remove the second cake layer. Relevel cake layers if necessary.
14. Put your filling on top of the first cake layer. Be sure not to go to the edge and not to overfill. I always use St. Dalfour Red Raspberry Fruit Spread. It is not super sweet because it is naturally sweetened, with fruit juice instead of sugar. I used about half a jar for this cake.
15. Gently flip the second cake layer upside down and place it on top of the first cake layer.
Frosting the Gaming Cake
What you will need:
2 containers of frosting (Betty Crocker Creamy Deluxe French Vanilla Frosting)
We will use two layers of frosting for this cake, a thin crumb coat and a final coat. The crumb coat will lock in all the crumbs, so our final coat will be crumb free. NOTE: The crumb coat should be thin enough to see the cake underneath.
1. Spread white frosting sparingly on the top of the cake using an angled icing spatula. Finish by gently scraping off any excess frosting. NOTE: You do not want to reuse the frosting you scraped off because it will have crumbs.
2. Apply a good dollop of white frosting to the side of the cake and gently glide the frosting on. Repeat until you have gone around the whole cake.
3. Remove any frosting from the spatula. Holding the icing spatula against the cake side, gently scrape along the side, removing any excess frosting. NOTE: The cake will not look very pretty right now, but that is ok. It is the crumb coat.
4. Spot cover any parts of the cake that need frosting. The whole cake should have a thin layer of frosting. Gently re-scrape any areas of the cake needed.
5. Put the cake in the freezer for 20 minutes or until the crumb coat is dry. It will feel dry to the touch and not tacky.
6. You will want equal amounts of white, blue, and violet frosting. And when I say equal, it is very loose. If you have a little more of one colour than others there is no problem. If you need help colouring your frosting, check out How to Colour Icing.
Steps 6-10
7. Using the back of a small spoon, take a dollop of white frosting and put on cake. Put dollops sporadically around the top and side of the cake. Then do the same with the blue frosting and purple frosting.
8. With the spatula, smooth out the dollops of frosting on the top of the cake and remove any excess frosting. Try not to fully combine the colours.
9. With the spatula vertically straight against the side of the cake, gently smooth out the dollops of frosting and remove any excess frosting.
10. Gently pull in the frosting edges. NOTE: To fix any areas, add more frosting and smooth out.
11. To easily make the finished design, gently move your icing spatula on top of the cake; from the outside towards the centre in a swooping motion. Move right beside that swoop and do it again. Repeat this until you finish the top of the cake.
12. Using a paper towel, wipe the frosting off the cake board. Repeat with a damp paper towel. Be carful not to touch the cake.