In this detailed, step-by-step tutorial, you will learn about the piping techniques needed to decorate cakes and cupcakes using my favourite piping tips. It is simple and easy to master! Trust me, you will feel like a pro in no time. And here is the best part. To make things super simple, I have created Piping Practice Sheets that you can print off and use.
I am here to walk you through this step-by-step; so you know exactly what to expect along the way. You will be able to take this knowledge and apply it to creating your very own designs.
Practice Your Piping Technique
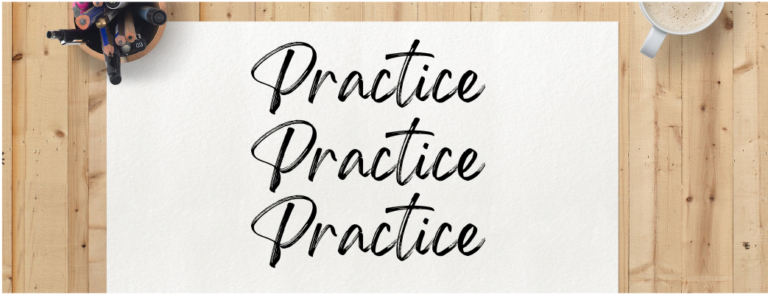
Practice is the Key! It is helpful to practice your piping technique before you start on your cake or cupcakes, especially if you are new to piping. Even after ten years of piping, I still do this. Before going to my cake or cupcakes, I practice at least one or two shapes on a plate with each piping tip I plan to use. This will definitely help your piping technique.
I recommend using my Piping Practice Sheets to feel more comfortable with the piping, especially for beginners. They start off piping a single shape and progress to what you would be doing on your cake or cupcakes. Practicing allows you to do a warm-up.
This post may contain affiliate links, which means if you buy something, I’ll receive a small commission without additional cost to you. As an Amazon Associate, I earn from qualifying purchases. Thanks for your support!
Tape the Piping Practice Sheets to your work area. Then, place the parchment paper or clear cling wrap on top and tape it down. You should be able to see the practice sheets through the parchment paper or cling wrap. If you don’t have any of these on hand, you could pipe directly onto the piping practice sheets, but make sure you tape them down first.
You can scrape off the icing and reuse it if you practice on parchment paper, clear cling wrap or a plate. However, if you pipe directly onto regular paper, I would not reuse the icing.
Now that set-up is complete, let’s go over the basics of how to hold your piping bag.
How to Hold Your Piping Bag
1. Make sure all the icing is towards the bottom of your bag. Then twist the top of your bag around a couple of times.
2. Hold the twisted part of the piping bag in the curve between your thumb and the pointer finger of your dominant hand. The area of the bag where all the icing is should be resting in the palm of your hand.
3. Close your hand without applying any pressure to the piping bag.
4. To stabilize the piping bag, rest your other hand’s pointer finger or a couple of fingers on the lower part of the icing bag. I find this extremely helpful when making lines or letters. You may prefer to do this or not, and that is ok. It is all up to preference. Either way, make sure it feels comfortable.
Now what? Let’s have some fun and design!
Here are some quick links to jump to a specific Piping Tip Technique
1. Hold the piping bag vertically straight over your practice sheet. NOTE: When piping the side of a cake, the piping bag should be horizontally straight. The piping bag should look like it is coming straight out from the side of the cake.
2. Hold the tip slightly above your practice sheet.
3. Squeeze the bag for about a second or two. NOTE: The longer you squeeze, the bigger the star will be.
4. Stop squeezing and pull up. That is it. You did it!
5. Go right beside your last star and do it all over again. Pay close attention to your spacing here. If you create a character/design cake or cupcake, you want the icing to overlap slightly. It should be as close as necessary so that no cake shows between the stars. NOTE: To make similar-sized stars, keep your pressure and squeezing time as consistent as possible.
Cakes and Cupcakes – If it requires outlines, do that first. Then pipe your stars along the outline and fill in.
1. Hold the piping bag vertically straight over your practice sheet. NOTE: When piping the side of a cake, the piping bag should be horizontally straight. The piping bag should look like it is coming straight out from the side of the cake.
2. Hold the tip slightly above the practice sheet.
3. Simple rule: Short icing strands look like grass, while long icing stands look like fur.
4. Squeeze and gently pull upwards until strands are the desired length.
5. Stop squeezing and pull away. NOTE: For more natural-looking grass, mix up the direction when you pull away. So, pull away straight up, to the right or the left.
6. Go right beside your last cluster and do it all over again. Pay close attention to your spacing here. You want the icing to overlap slightly. It should be as close as necessary so that no cake is showing between the clusters.
Cakes and Cupcakes – Always start piping from the bottom and work your way up. Then from the outside to the inside.
1. Hold the piping bag vertically straight over your practice sheet. NOTE: When piping the side of a cake, the piping bag should be horizontally straight. The piping bag should look like it is coming straight out from the side of the cake.
2. Hold the tip slightly above the practice sheet.
3. Start in the centre of where you want your rosette. Squeeze to make a star. Then with consistent pressure, move to the right and go up and around the star, making a circle around it. It should overlap the star slightly so that no cake is showing. NOTE: If you prefer to move to the left after making the star, use the same circular motion; in the opposite direction. Do whichever direction feels more comfortable for you. Make sure you pipe all the rosettes in the same direction.
4. Stop squeezing as you close the circle, then pull away following the same circular motion. NOTE: For cupcakes, continue piping around the circle until you reach your desired Rosette.
5. Go about a 1/2 inch next to your rosette and do it over again. Pay close attention to your spacing here. You want the icing to overlap slightly. It should be as close as necessary so that no cake is showing between the rosettes.
Cakes – Always start piping from the bottom and work your way up. Start your second-row rosette in the middle of the two rosettes below it. It should form a triangle. Complete the row and then start the new row forming a triangle. Then on the top, move from the outside to the inside.
Be Unique
Remember, there are no right or wrong designs when piping. It is a form of art. These are just some suggestions on how you can use the piping tips. Why not experiment and try creating some new shapes and designs? Let your creative heart take over and see where it leads you!
Mama's Helpful Tips
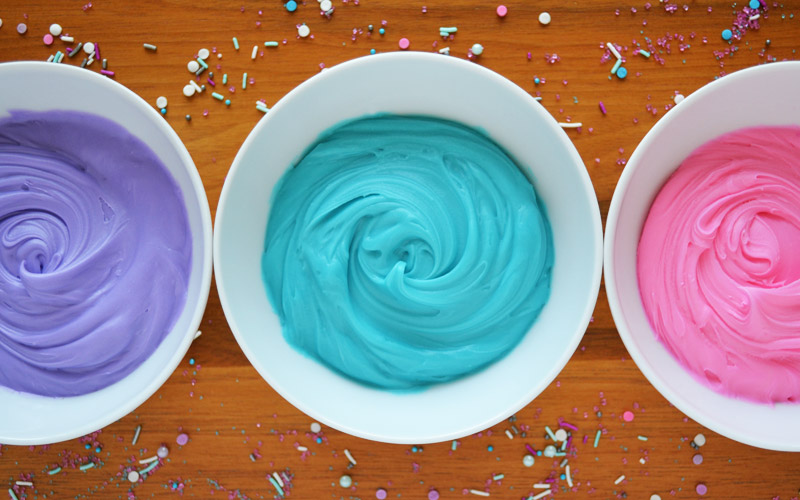
Chill the icing for 30 mins before piping. It makes the shapes crisper.
Always practice first before piping on your cake or cupcakes.
Scrape off the icing and reuse it if you practice on parchment paper, clear cling wrap or a plate. You may have to rechill it before using it again.
Go slow and take your time while piping.
For Rosettes, Grass or Fur – Always start piping from bottom to top and then from outside to inside.
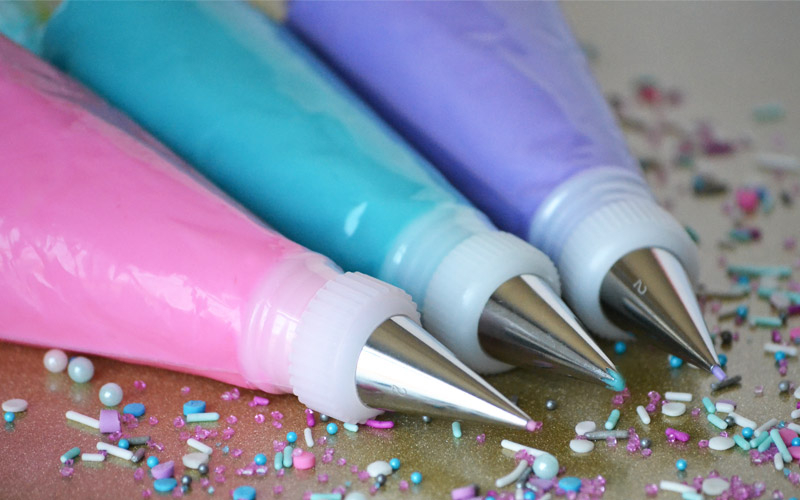
If you prefer a piping tip set, I recommend Wilton’s Decorating Tip Set. It has many piping tips, including tips #2, #16, #233, and small couplers, all in a convenient plastic organizer case.