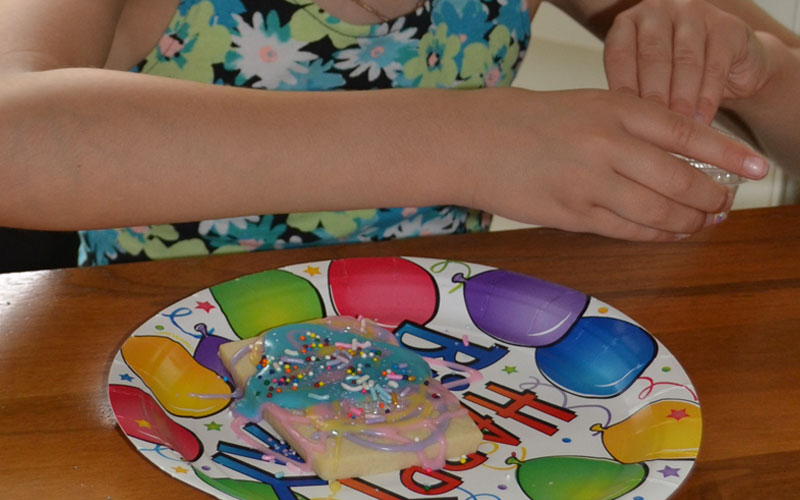
Kids absolutely love decorating sugar cookies! Shape them like a canvas, and instantly make Priceless Edible Art! The kids will have a Blast creating their Edible Masterpieces. Plus, they will love the sweet treat when done. That being said, choose the cookie shape that is the best for your party.
This activity takes approximately 15-20 minutes, depending on how many sugar cookies each kid will decorate. Allow the icing to dry a little, before putting them in a bag. That is unless the kids will eat the cookies right after decorating.
For Decorating Sugar Cookies, you will need:
Paper Plates (for easy cleanup)
Sugar Cookies (make a couple of days before party or order at least 2 weeks in advance)
Piping Bags filled with Icing (multiple colours made a couple of days before party or order with cookies)
Sprinkles (in containers with lids)
Making Sugar Cookies
Make your sugar cookies a couple of days before the party. My favourite sugar cookie recipe is from Sally’s Baking Addiction. These cookies are Soft and Absolutely Yummy! Note: They contain Almond Extract. You will need to make sure your guests do not have nut allergies.
I have been making these cookies for years, and this is what I have learned along the way.
My Cookie Baking Notes
If stacking rolled-out cookie dough on parchment paper, put an extra piece of parchment paper between each layer to prevent sticking between the layers. (Rolled out cookie dough on parchment paper, then parchment paper, then rolled out cookie dough on parchment paper, then parchment paper)
Bake the cookies for 8-10mins. Check them at the 8 minute mark. If the edges are very lightly coloured, they are done. If not, put in for another minute and check again. The cookie will be soft.
After the cookies cool for 5 mins on the baking sheet, use a spatula to transfer the cookies to the wire rack. You do not want to pick them up, as they are soft and will break.
Canvas Cookie Shape:
Instead of using a cookie cutter, make a small rectangle using a metal icing spatula. Or you could use the dull side of a butter knife. You do not want any marks on your cookies from the serrated side. Try to keep the cookie size as similar as possible for all the cookies.
Easy Icing
You will want to make more Easy Icing than suggested in Sally’s Baking Addictionrecipe. Most kids use a lot of icing! I would triple the amount of icing compared to the dough. Better to have too much than not enough. My Icing Baking Notes:
Add salt to the Easy Icing, as Sally suggests. I find the Easy Icing too sweet without the salt.
I do not use corn syrup in the Easy Icing. Instead add a bit more water to get the right consistency.
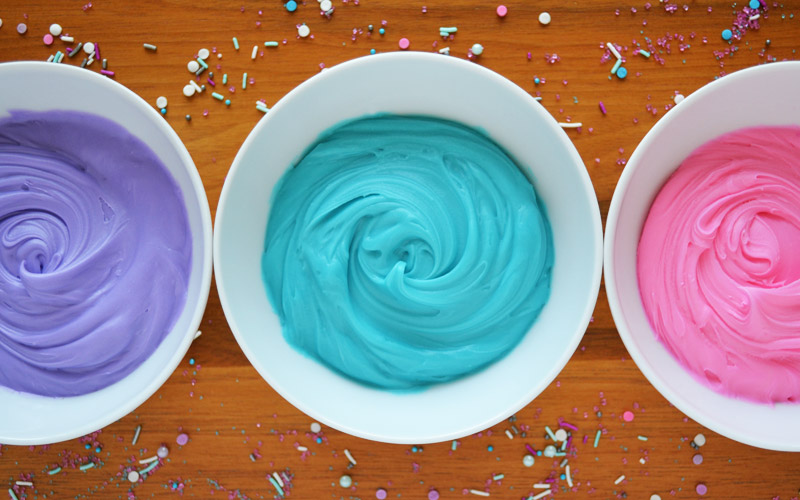
Colour Your Icing
Separate your Icing into bowls to make the different colours. The number of bowls depends on how many colours you want. We did pink, purple, blue, and yellow. For icing colour instructions, see How to Colour Icing. Important Note: Do Not Chill the Easy Icing for these cookies.
This post may contain affiliate links, which means if you buy something, I’ll receive a small commission without additional cost to you. As an Amazon Associate, I earn from qualifying purchases. Thanks for your support!
Prepare the Piping Bags
To prepare the piping bags, you will need a few things:
Wilton 12″ Piping Bags (enough for multiples of each colour – For a party of six kids doing two cookies each, we did two piping bags of each colour. 2 Pink, 2 Purple, 2 Teal, and 2 Yellow, making a total of 8 piping bags.
Ribbon (Optional – If you don’t have ribbon, make a knot with the piping bag where the icing ends)
Scissors (Optional)
Assembly of Piping Bags:
Fold the top of the piping bag over your hand halfway down to make a cuff.
Use a spoon to put your icing in the piping bag.
Unfold the top of the piping bag back to normal and push the icing towards the bottom of the bag.
Twist the top of your Piping bag and tightly knot a ribbon around it. Curl the Ribbon for a finishing touch. If you don’t have ribbon, make a knot with the piping bag where the icing ends.
Leave approximately 3″ of the piping bag from the knot and cut off the remainder of the piping bag.
During the Party
To open the piping bags, cut a small opening at the tip of the piping bag. The opening size determines the amount of icing that comes out. A big opening means more icing coming out. If you cut the piping bag opening too big, you can’t fix it. Better to make a small opening and gradually increase the size if necessary.
If a kid’s cookie breaks while decorating, do not panic. Put some icing between the two pieces (like you would with glue) and push them lightly together. When the icing dries, it will hold the pieces together.
Now, they can either eat their yummy cookie(s) or you can put them aside to let the icing dry. Write their names on the top of the paper plates to avoid a mix-up.
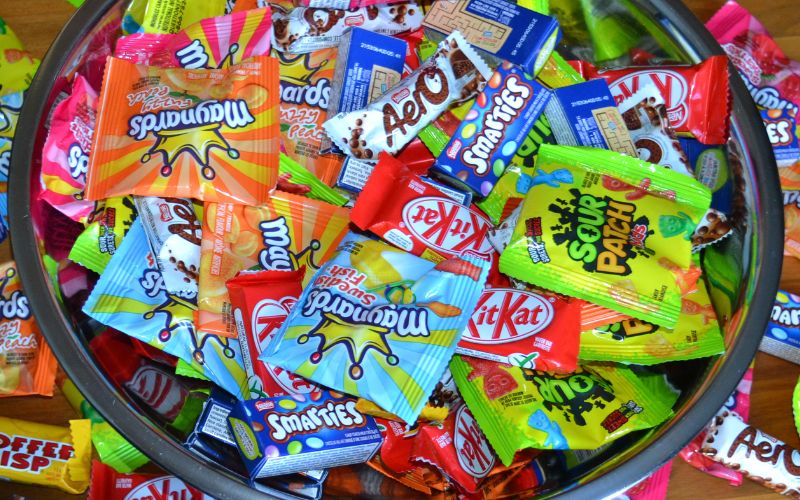
Sending Cookies Home
If the cookies are being sent home with the kids, put parchment paper on the icing side of the cookie to prevent sticking. Then put the cookie(s) in a cookie bag or Ziplock. The cookie bag should go directly into the loot bag to avoid a mix-up.
I would love to hear about you Decorating Sugar Cookies! Please share your pictures and comments below.
Mama's Helpful Tips
If a kid’s cookie breaks while decorating, do not panic. Put some icing between the two pieces (like you would with glue) and push them lightly together. When the icing dries, it will hold the pieces together.
Make sure you have enough helping hands for your party.